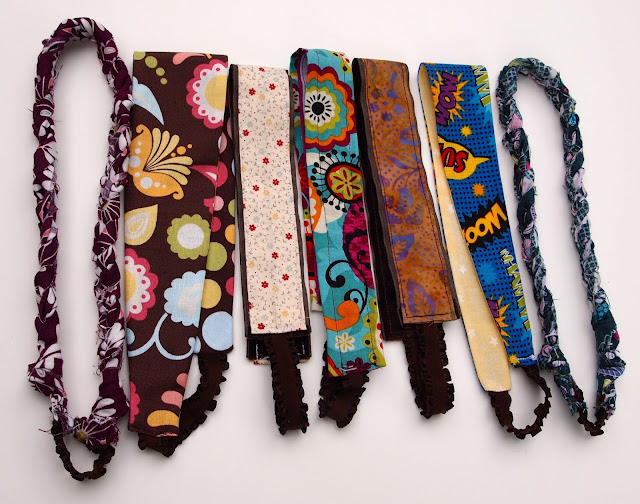
Finally I can cross something off my project list! Earlier this month I whipped up some fast and easy headbands using four different tutorials that I had pinned over the past year or so.
Originally I had planned to make these headbands with only the materials I had on hand. {think scrap buster + tight wad} But then I saw this ruffle elastic at JoAnns and just had to have it.
Let's check out what I made:
Braided Headband by Clones N Clowns
The first step with these instructions was to convert to inches which was easy enough after a quick google search. The real trick here was finding scraps long enough. I made one headband using strips 1 1/2" wide and another with strips 2". It's a close call but I think I like the smaller strips better. And because I had that cute ruffle elastic I didn't bother to cover it like the original instructions showed. The only thing I didn't like about making this was attaching the elastic to the braided section. I just couldn't figure out a good way to make it look finished. Of course if I had made the fabric tube that would be covered. Oh well. Overall, I like these headbands a lot.
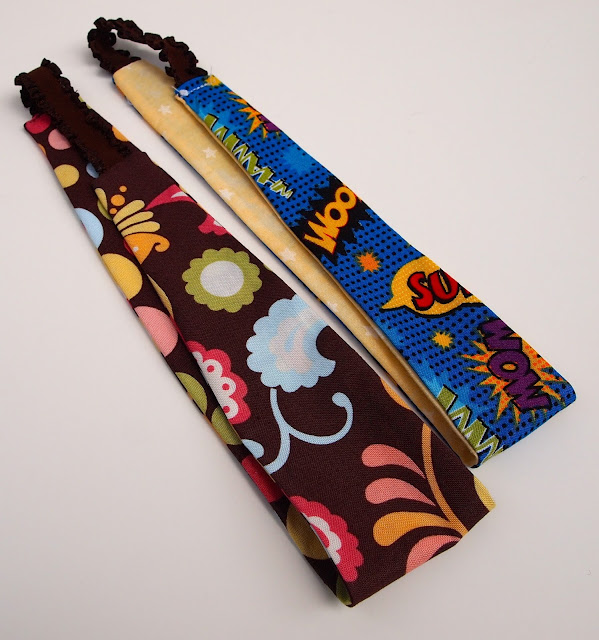
Double Sided Fabric Headbands by happy together
I knew from the pictures in this post and the pattern that this headband would be wider than what I would like. But I had a simple fix for that. After printing out the pattern, I just cut off a 1/4" from each long edge. This one was probably the quickest sew. I changed it up slightly from the tutorial. With the two fabric pieces right sides together and the elastic sandwiched between them with raw edges together along one short end, I sewed a 1/4" seam around three sides (the two long sides and the short one with the elastic). Then I turned the piece right right side out and pressed, folding under about a 1/4" on the open end. Lastly, I slipped about 1/2" of the other end of the elastic into the open end and stitched it closed. Easy! I still thought the band was too wide so I took my revised pattern and cut off another 1/4" from each long edge. That was a mistake as it made the ends too narrow. So I tossed that attempt and instead left the ends the same as my original revision and simply narrowed the center part of the band by a 1/4".
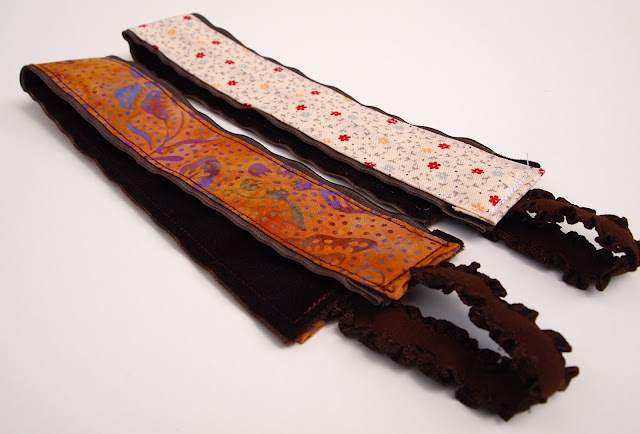
No Slip Fabric Headband by that girl...that quilt
So for this headband I did have to purchase something - velveteen ribbon. I did skip the steam-a-seam and didn't miss it at all. Otherwise I pretty much followed this easy tutorial. I bought enough ribbon to make two. While I like these headbands, I probably won't be making any more. I'm simply too cheap to buy more velveteen ribbon especially since there are so many other ways to make headbands with just scraps.
No Slip Headband on Positively Splendid
This post claims that velcro is the trick for no slip headbands. Well, I hadn't had any issues of slipping headbands with any of the other bands I made but maybe that's just me. {I also don't agree with the writers statement that it won't pull your hair out when removed. But again, maybe that's just me.}. The tutorial offers three variations and I made the one with a fabric top. I was able to make one with what I had on hand but no more. And what do you do with the loop side of the Velcro that you didn't use? Seems like a waste to me. As you have probably guessed, this was my least favorite of the four types I made.
Now that you've heard my experiences and opinions, it's time to make your own. Have fun!
I am sharing this at my favorite parties.


All of the headbands you made are super cute! I think I like the braided ones the best. They are super fun! Also, I think that velcro would pull my hair as well. Thats just me ;)
ReplyDeleteI would love for you to share this post (and any others!) at my Life of the Party link up! Im going to poke around your blog a little more.
http://thegrantlife.com/life-of-the-party-1/
Thanks Kelley. I did share this post at your Life of the Party!
Delete